Your first video
Take a brief to a finished video, end to end.
Making a video in Prism follows the same shape every time: gather material, brief the video, review the script, refine the edit, render it.
You never start from a blank page. Brief Prism with a presenter, a style and a length, and it drafts the script. Commit the script, and it builds the first cut on a timeline. Your job at each step is to review and refine.
Before you start
You need an account, and a desktop browser — see Requirements. If you do not have access yet, choose a plan or contact us.
1. Start a project
A project holds everything for one story: the material you gather and the videos you cut from it.
- Choose NEW PROJECT in the header
- Give it a name — this is required
- Add a description if you want one, then choose CREATE
Prism opens the new project on a GET STARTED panel. The project is empty, and the panel exists to fix that.
2. Add your material
The GET STARTED panel gives you three ways in:
- Search by keyword, or paste a public link — the ASSETS and WEBSITE tabs change what you search
- UPLOAD FILES brings in footage from your computer, or drag files straight onto the panel
- ADD FROM MY COLLECTION pulls in material already in your library
ADD FROM MY COLLECTION opens your library with a banner naming the project you are adding to. Select what you want and confirm with the button at the top, which counts your selection.
Everything you add appears in the Project Library panel on the right.
3. Brief the video
Once the project has material, go to the Assignment Desk. Briefing a video covers every part of the brief.
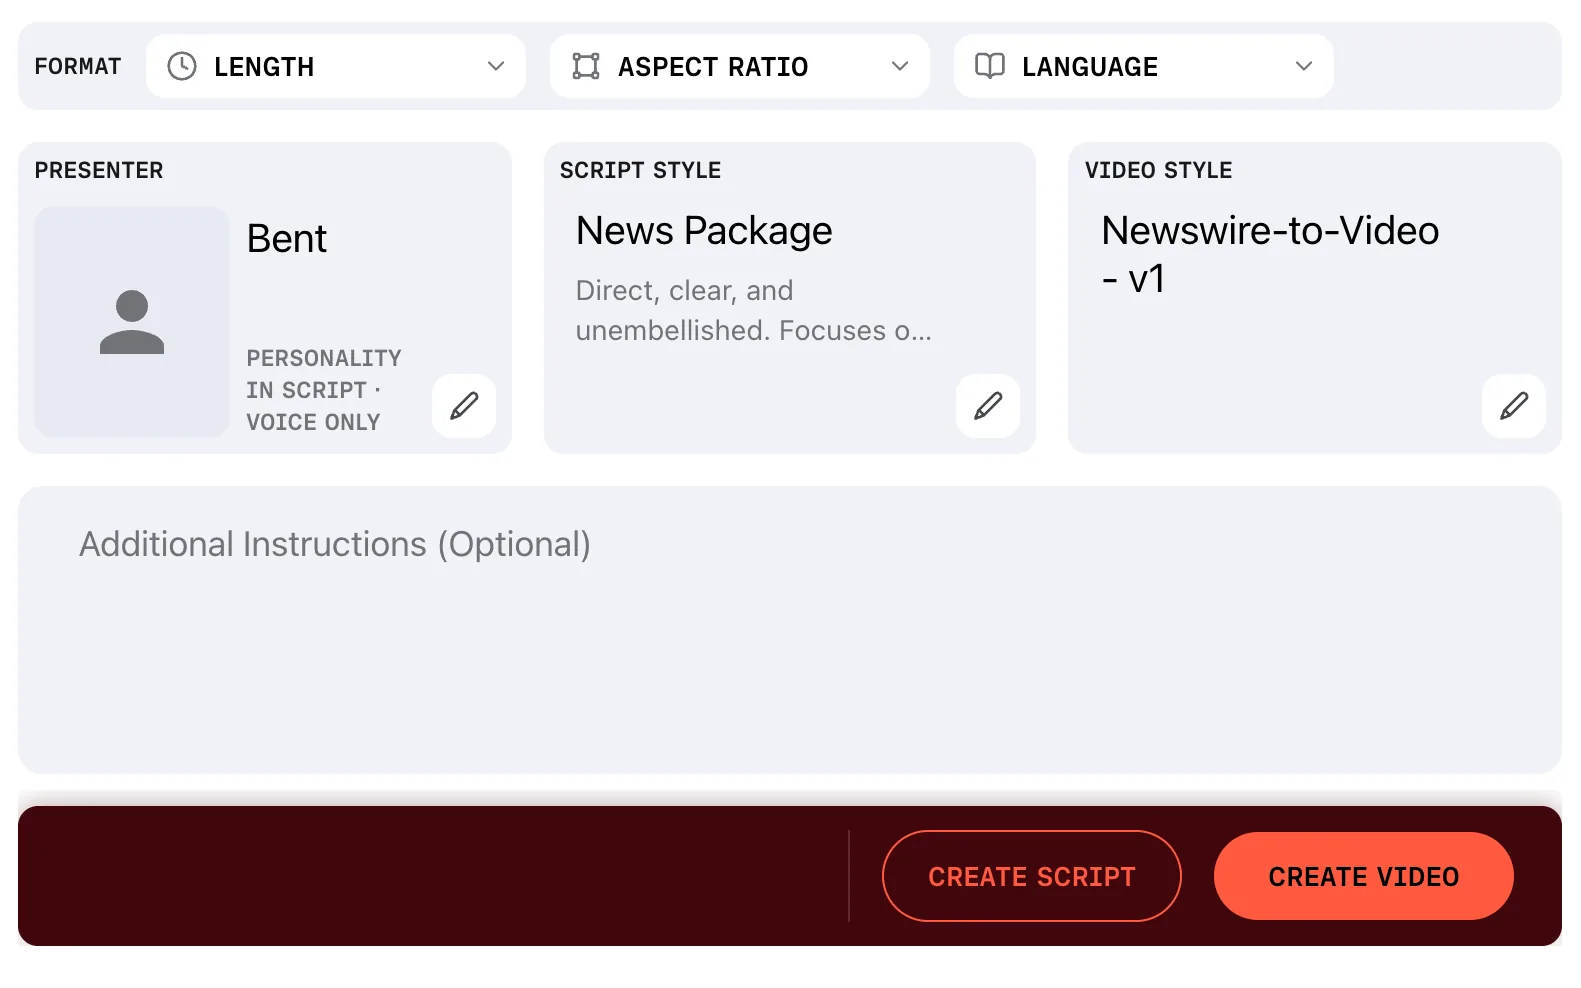
The Assignment Desk is where you commission a video. Three choices are required before Prism will make anything:
- Presenter — the voice that delivers the script
- Script style — how the words are written
- Video style — how the edit is cut and dressed
Until all three are set, the action bar reads SELECT A PRESENTER + A SCRIPT STYLE + A VIDEO STYLE TO CREATE and both create buttons stay disabled.
Under FORMAT you can also set LENGTH, ASPECT RATIO and LANGUAGE, and you can add Additional Instructions in your own words.
A preset fills the whole brief in one click. If your account has presets, start there rather than setting each field.
Watch the script style
Choosing a video style can replace the script style you picked. When it does, the script style card greys out and shows SET BY VIDEO STYLE. That is the video style asserting its own writing rules. Pick your video style first, then your script style, and you will not lose a choice.
Two ways to create
- CREATE SCRIPT drafts the script and stops, so you can read it before anything is cut
- CREATE VIDEO goes straight through without the script review
Take CREATE SCRIPT for your first video. Reading the draft is how you learn what your styles actually do.
Prism confirms with Script is drafting — track it in project outputs, then clears the brief so you can commission another. Your video appears under IN PROGRESS in the Project Outputs panel, and the header's Task Manager shows activity while it works.
4. Review the script
Open the output when it is ready. The script is a list of blocks — the ordered pieces of the story. Read it and rewrite what you want. On Enterprise plans you can also ask Prism for changes in your own words — see Writing with Prism.
When the script reads right, choose Commit Script. Prism builds the edit from your blocks, in order — see Committing a script.
5. Cut the edit
Open the Editing Suite — the Video Editor tab — where your script has become a timeline with footage laid against it.
The first thing worth knowing is that some tracks are locked. Any track carrying narration or a quote cannot be moved, trimmed or split, because its timing comes from the audio.
6. Render and download
Choose RENDER VIDEO in the Editing Suite. The render runs on Prism's servers, so you can leave the page. When it finishes, the video appears on the Distribution page with a player and a download button.
Prism does not post to social platforms or publish to a CMS.